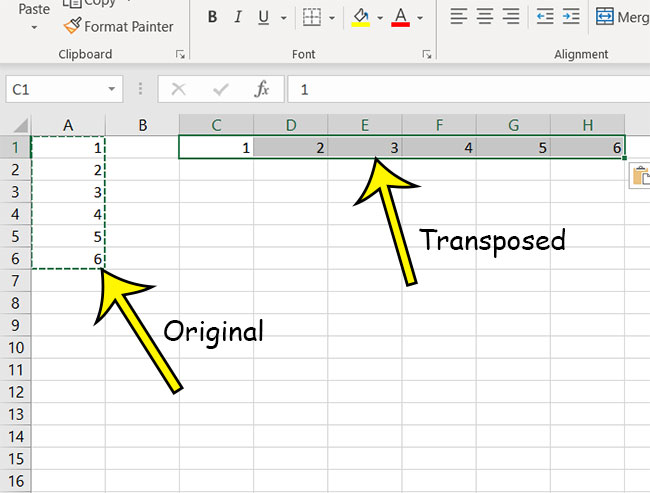
But one of the other options you may notice on the Paste menu is something called Transpose, and you may be wondering what that does. Transpose will take a series of cells that you have copied, such as several cells in one column, then paste them into a row instead. This is really helpful if you decide to change the structure of your spreadsheet and don’t want to individually paste cells, or retype a bunch of data. Our tutorial below will show you an example of how to use the Transpose paste function so that you can see what it does.
How to Use the Transpose Paste Option in Excel
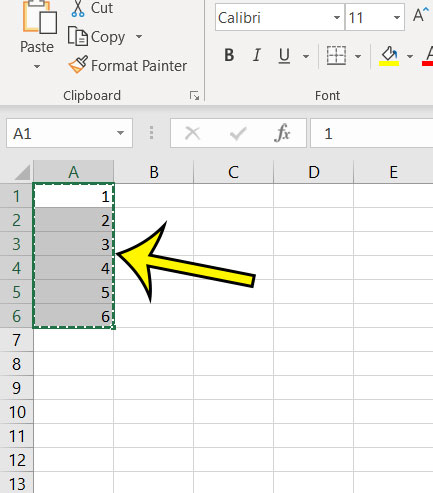
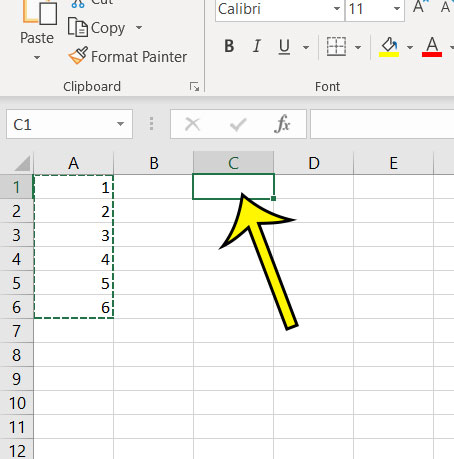
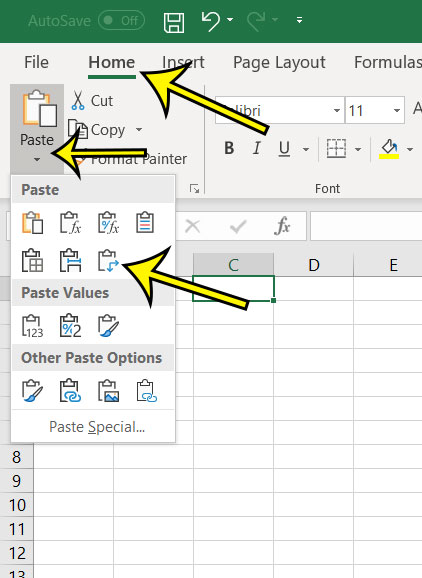
The steps in this article were performed in Excel for Office 365. If you are using a different version of Excel your screen may look different, but the steps are the same for most versions of Excel. Step 1: Open your file in Excel, then select the cells that you wish to adjust using the Transpose function and press Ctrl + C on your keyboard to copy them. Step 2: Click in a cell where you wish to paste the copied data. Step 3: Select the Home tab at the top of the window, click the arrow under the word Paste, then choose the Transpose option. You should now see your data in a row instead of a column, or vice versa. I originally copied data in a column in my example above, and it’s now been pasted into a row by Transpose. Are you ready to print your spreadsheet, but it looks weird on paper because it’s aligned to the left side of the page? Find out how to center horizontally and vertically in Excel when printing so that your data looks better on paper.
He specializes in writing content about iPhones, Android devices, Microsoft Office, and many other popular applications and devices. Read his full bio here.