By setting an expiration date for your document, spreadsheet, or slideshow, you can share it with clients, customers, or vendors for a short period of time. This is a great way to limit access, and the feature only allows view and comment permissions. If you want to try the temporary access feature for a document you’re getting ready to share, here’s how to set it up.
Set an Expire Date for a File
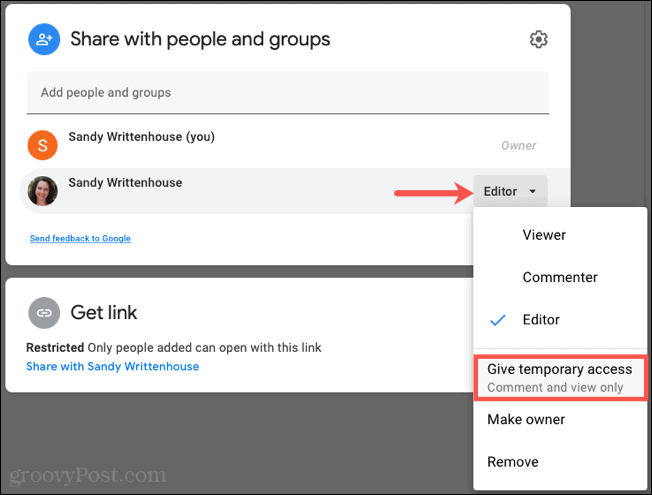
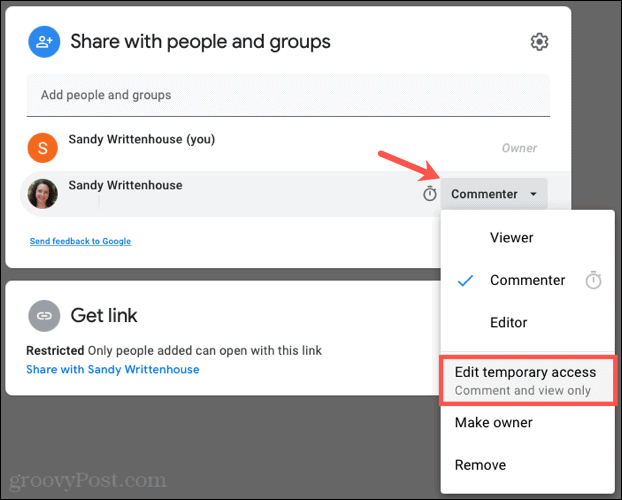
Open the application where the file you want to share is located. Again, the feature is available in Google Docs, Sheets, Slides, and Drive for paid Google account users. With the document open, click Share at the top as you normally would to share a document. You must have already shared the document with the person to set an expiration date. So if you haven’t added them yet, do so now, and then you can change the access. Click the permission drop-down box to the right of the person in the list and choose Give temporary access. If you previously provided the user with Editor privileges, that will automatically change to Commenter. You can also give them Viewer access if you prefer.
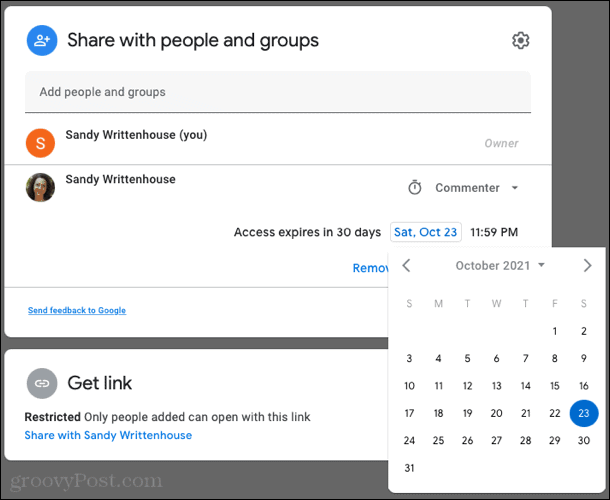
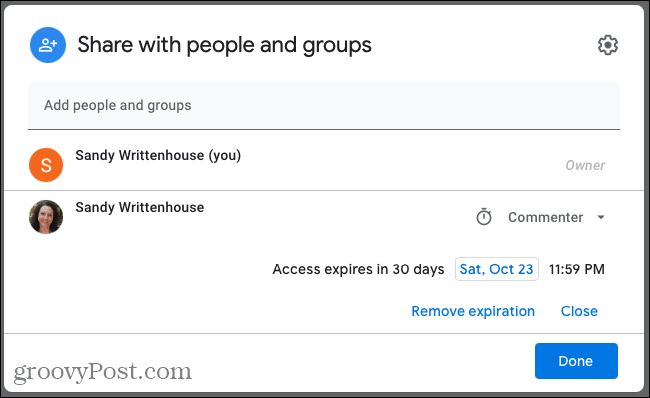
Select the expire date using the calendar that pops open when you click the date. You cannot adjust the time; this defaults to 11:59 PM on the selected date.
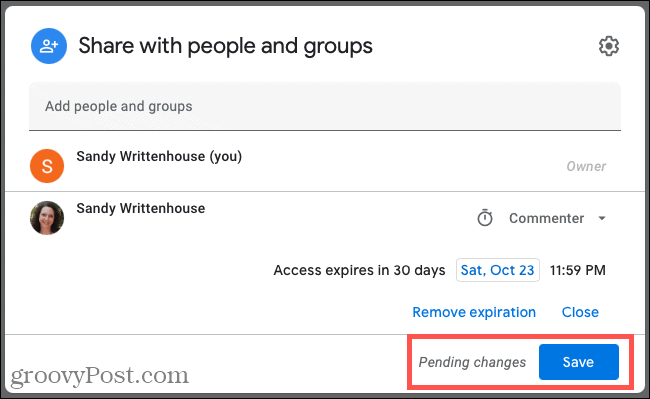
When you finish, click Save to apply the change.
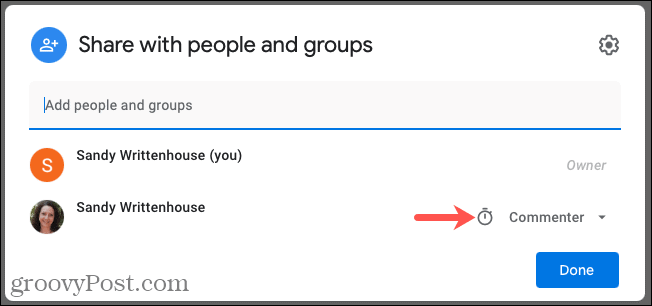
If you click the Share button to review those you’re sharing with or to add people, you’ll see a watch icon next to anyone you’ve given temporary access to for reference.
Edit or Remove Temporary Access
If you want to change the date you selected or remove the expire, you can do this any time before the expiration date. Click Share and then use the drop-down box next to the person in the list to select Edit Temporary Access.
You can change the date by clicking it and using the pop-up calendar. Or, you can remove the temporary access expire by clicking Remove expiration.
Click Done and click Save when you finish editing or removing the expiration date to apply the change.
Share With an Expiration Date in Google Apps
When you want to allow access to a document for a limited time, the temporary access feature is ideal. It may be a document you want others to review before a deadline or one that will be changing soon. So remember the expire date option when sharing in Google Docs, Sheets, Slides, and Drive. If you use Microsoft Office applications in addition to Google, take a look at our guide for sharing Word, Excel, and PowerPoint documents. Comment Name * Email *
Δ Save my name and email and send me emails as new comments are made to this post.


![]()
