While there are some common things that you can try to fix this problem, one item you may not be aware of is a button that lets you renew your lease with the Wi-Fi network. This will tell the network that you want it to assign a new IP address to the iPhone, which can be helpful when troubleshooting network issues. Our guide below will show you how to renew the lease on your device.
How to Renew Lease for a Wi-Fi Network on an iPhone
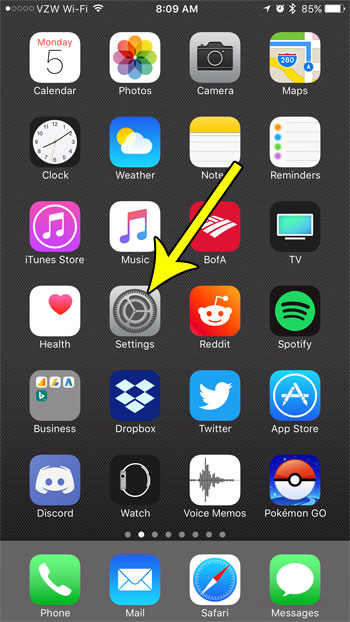
The steps in this article were performed on an iPhone 7 Plus in iOS 10.3.3. Note that many Wi-Fi networks will not require you to manually renew your DHCP lease in this manner, and it’s likely that many iPhone owners will never have to do this. But if you are troubleshooting a Wi-Fi issue on your iPhone and it has been recommended to you that you renew the lease with the network, then continue below. Step 1: Open the Settings app.
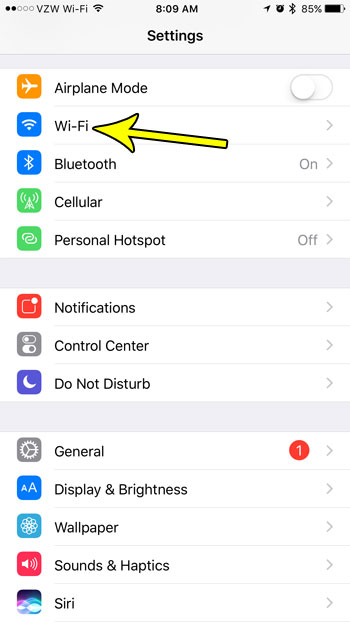
Step 2: Select the Wi-Fi option.
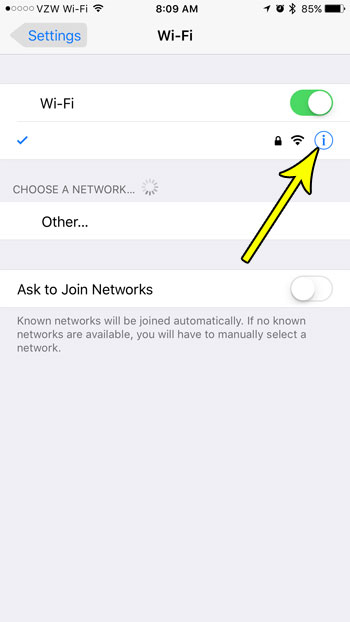
Step 3: Touch the i button to the right of the Wi-Fi network to which you are currently connected.
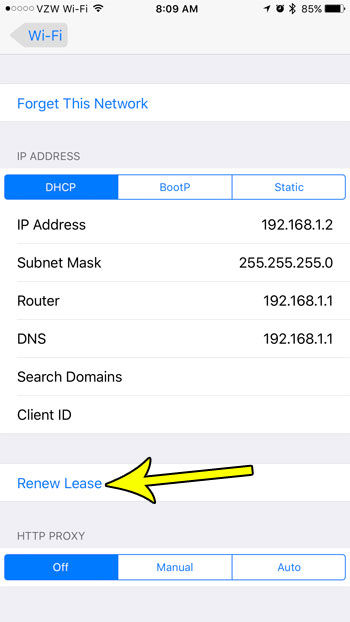
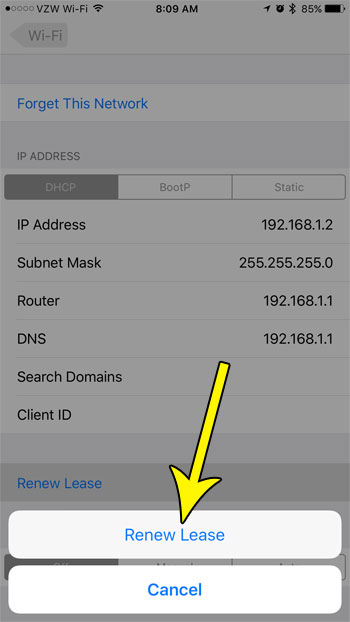
Step 4: Select the Renew Lease button near the bottom of the screen.
Step 5: Tap the Renew Lease button again to confirm that you wish to complete this action.
Does your iPhone keep trying to connect to a Wi-Fi network that you don’t want to use? Find out how to forget a Wi-Fi network on your iPhone and prevent the device from automatically connecting to that network in the future. He specializes in writing content about iPhones, Android devices, Microsoft Office, and many other popular applications and devices. Read his full bio here.